
Cedar and wood privacy fences built to last.
Installing a fence on your residential property is a great way to enhance privacy, improve security, and boost curb appeal. While the process may seem daunting at first, with the right tools, materials, and preparation, it can be a rewarding DIY project. Here’s a step-by-step guide to help you successfully install a fence.
Assess Your Needs: Determine the purpose of your fence. Are you installing it for privacy, security, aesthetic appeal, or to keep pets and children safe? This will influence the type of fence you choose, such as wooden, vinyl, chain link, or wrought iron.
Check Local Regulations: Before you begin, review your local zoning laws and homeowners’ association (HOA) guidelines. Some areas have restrictions on fence height, material, and placement. Additionally, confirm your property lines to avoid disputes with neighbors.
Obtain Necessary Permits: Some municipalities require permits for fence installation. Contact your local building department to determine if a permit is needed and adhere to their requirements.
Consult Your Neighbors: If your fence will be near a shared property line, it’s a good idea to discuss your plans with your neighbors. This helps maintain good relations and may even lead to shared costs.
Based on the type of fence you’ve chosen, gather the following materials and tools:
Ensure you purchase enough materials to cover your desired fence length, and always buy a little extra to account for errors or adjustments.
Use a measuring tape to determine the total length of the fence. Mark the locations for your fence posts using stakes and string to ensure straight lines. Posts are typically spaced 6 to 8 feet apart, depending on the design of your fence.
Using a post hole digger or power auger, dig holes for your fence posts. The depth of the holes should be about one-third the height of the post, plus an additional 6 inches for gravel. For instance, an 8-foot post would require a 3-foot-deep hole.
Add 6 inches of gravel to the bottom of each hole to improve drainage and prevent wood rot.
Place a post in each hole and fill the surrounding space with concrete. Ensure each post is level and aligned with the string line. Allow the concrete to cure for 24 to 48 hours before proceeding.
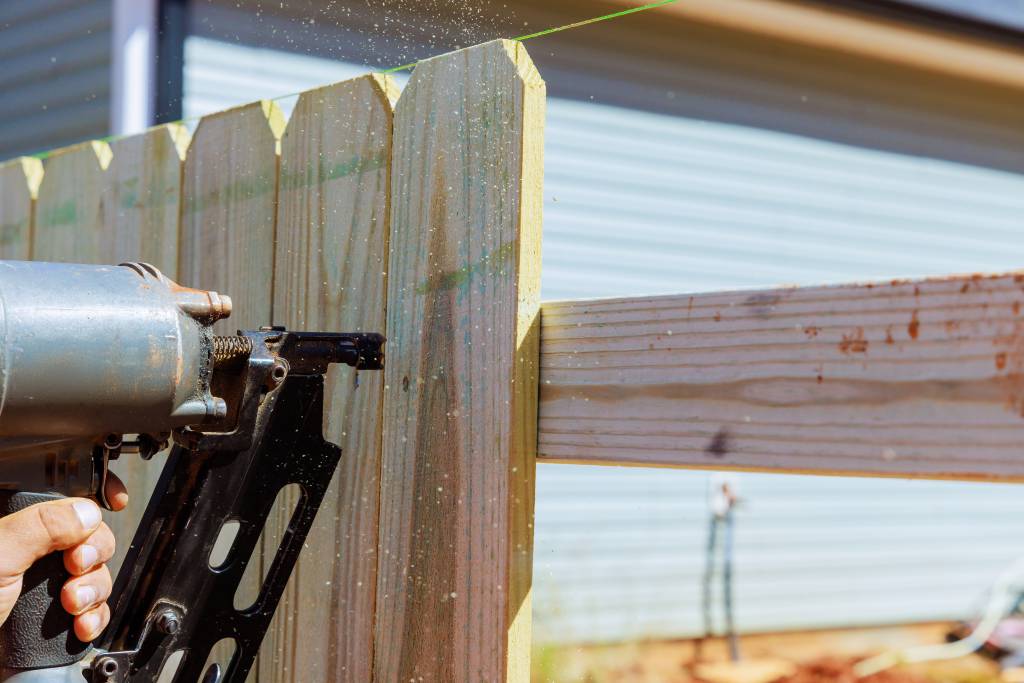
Depending on your fence style, attach the fence panels or rails to the posts. Use a power drill and screws to secure them. For wooden fences, ensure the panels are evenly spaced to maintain a consistent appearance.
If you’re installing a chain-link fence, attach the mesh to the posts using tension bands and tie wires. For vinyl fences, follow the manufacturer’s instructions to snap panels into place.
Once the panels are installed, add post caps to protect the posts from weather damage and enhance the overall look of your fence. Check the entire fence for stability and make any necessary adjustments.
Regular maintenance will extend the life of your fence:
Installing a fence on your residential property is a manageable project with proper planning and execution. By following these steps, you can create a functional and attractive fence that meets your needs and enhances your home’s value. Whether you’re enclosing a backyard for privacy or adding a decorative touch to your front yard, a well-installed fence is an investment you’ll appreciate for years to come.
No pressure, no obligation.
Had the best experience with this company and did an excellent job in remodeling. Definitely recommend them!
Yazmine PerezThey replaced the drywall in my garage, then sanded, primed and painted it, plus the door. All for a very reasonable price. I couldn't be more satisfied with the finished product.
Doris WoolenSsay Painting did a wonderful job fixing my drywall so the texture and paint match. The job was very clean and professional. I would definitely recommend them.
Manuel PerezFree, no-obligation estimates across Dallas–Fort Worth.