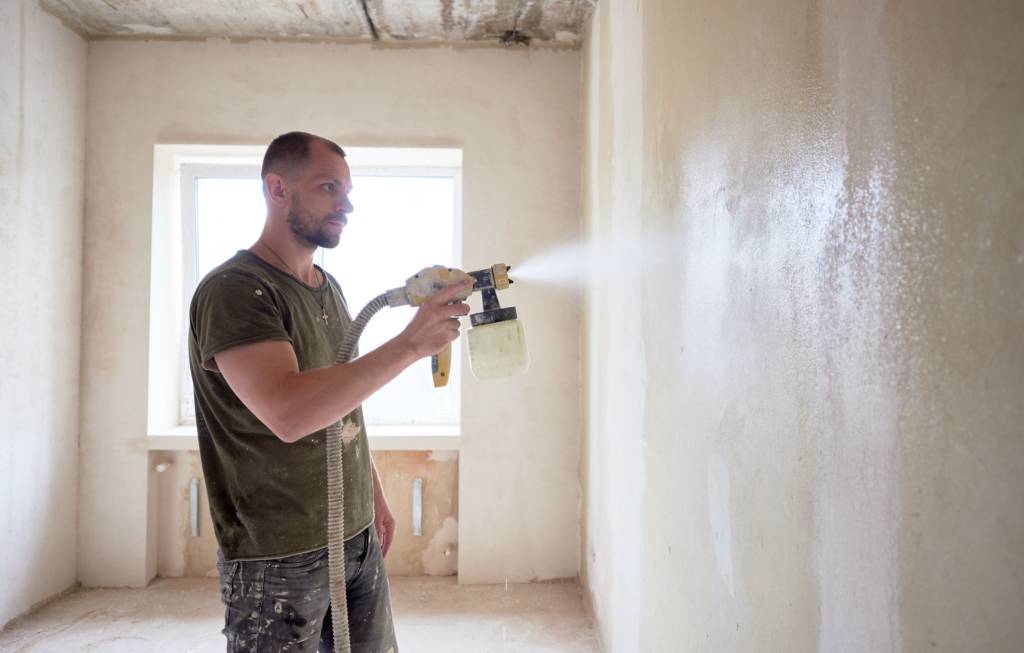
Orange peel, knockdown and more, blended so patches disappear under paint.
Texture matching is a critical process for ensuring a seamless and professional finish when repairing or renovating walls. Whether you are working on residential homes or commercial offices, achieving a consistent texture can enhance the aesthetics and preserve the integrity of the space. Here is a step-by-step guide to help you master the art of texture matching.
Texture matching involves replicating the existing wall finish so that new repairs blend seamlessly with the surrounding area. This process is crucial for both residential and commercial properties because mismatched textures can be highly noticeable and detract from the overall appearance.
In residential properties, texture matching is often needed when repairing drywall, covering up holes, or updating a room’s design. In commercial spaces, texture matching is equally important to maintain a professional look, especially in high-traffic areas or customer-facing spaces.
Before starting the process, gather the following tools and materials:
The first step in texture matching is to carefully assess the existing wall texture. Common wall textures include:
Identify the texture type and take note of its density, pattern, and thickness. Observing the texture under different lighting conditions can help you understand its nuances better.
Before applying any new texture, ensure the surface is clean, smooth, and properly prepped:
Conducting a test patch is a critical step to ensure you can replicate the original texture before working on the main area:
Once you are confident with your test patch, proceed with the main application:
Blending and feathering are crucial for seamless texture matching. Work from the center of the repaired area outward, thinning the edges of the compound to merge with the existing texture. This gradual transition prevents visible lines or abrupt changes in texture.
Once the texture is dry, lightly sand the area to smooth out any imperfections. Use fine-grit sandpaper and be careful not to over-sand, as this can disrupt the texture.
Inspect the surface under various lighting conditions to ensure the new texture matches perfectly with the original.
Finally, apply primer and paint to the textured area to complete the process. Use the same paint color and finish as the surrounding wall. Consider feathering the paint edges to blend it with the existing surface.
Texture matching requires attention to detail and a methodical approach, but it is achievable with the right tools, techniques, and practice. Whether you are working in a cozy residential home or a bustling commercial office, seamless texture matching will ensure a polished and professional appearance that enhances the beauty and value of the property.
No pressure, no obligation.
Had the best experience with this company and did an excellent job in remodeling. Definitely recommend them!
Yazmine PerezThey replaced the drywall in my garage, then sanded, primed and painted it, plus the door. All for a very reasonable price. I couldn't be more satisfied with the finished product.
Doris WoolenSsay Painting did a wonderful job fixing my drywall so the texture and paint match. The job was very clean and professional. I would definitely recommend them.
Manuel PerezFree, no-obligation estimates across Dallas–Fort Worth.


